You will need:
2 6X6 flannel pieces of fabric
4 8 inch Gross grain ribbon
pins, coordinating string, sewing machine
crinkle material : empty baby wipe container, popcorn wrappers, sticker plastic (sleeve that stickers come in and I find this the sturdiest)

This is a 6X6 piece of flannel fabric. Place 1 piece face up. I choose coordinating ribbon, they are 8 inches long each and you will need 4 pieces. You need to heat seal the edges after cutting them (just lightly run a lighter over the edge and this will prevent fraying). Fold the ribbon in half and pin like shown in the picture.

Place 2nd piece of fabric face down on top of the first piece and make sure they are lined up.
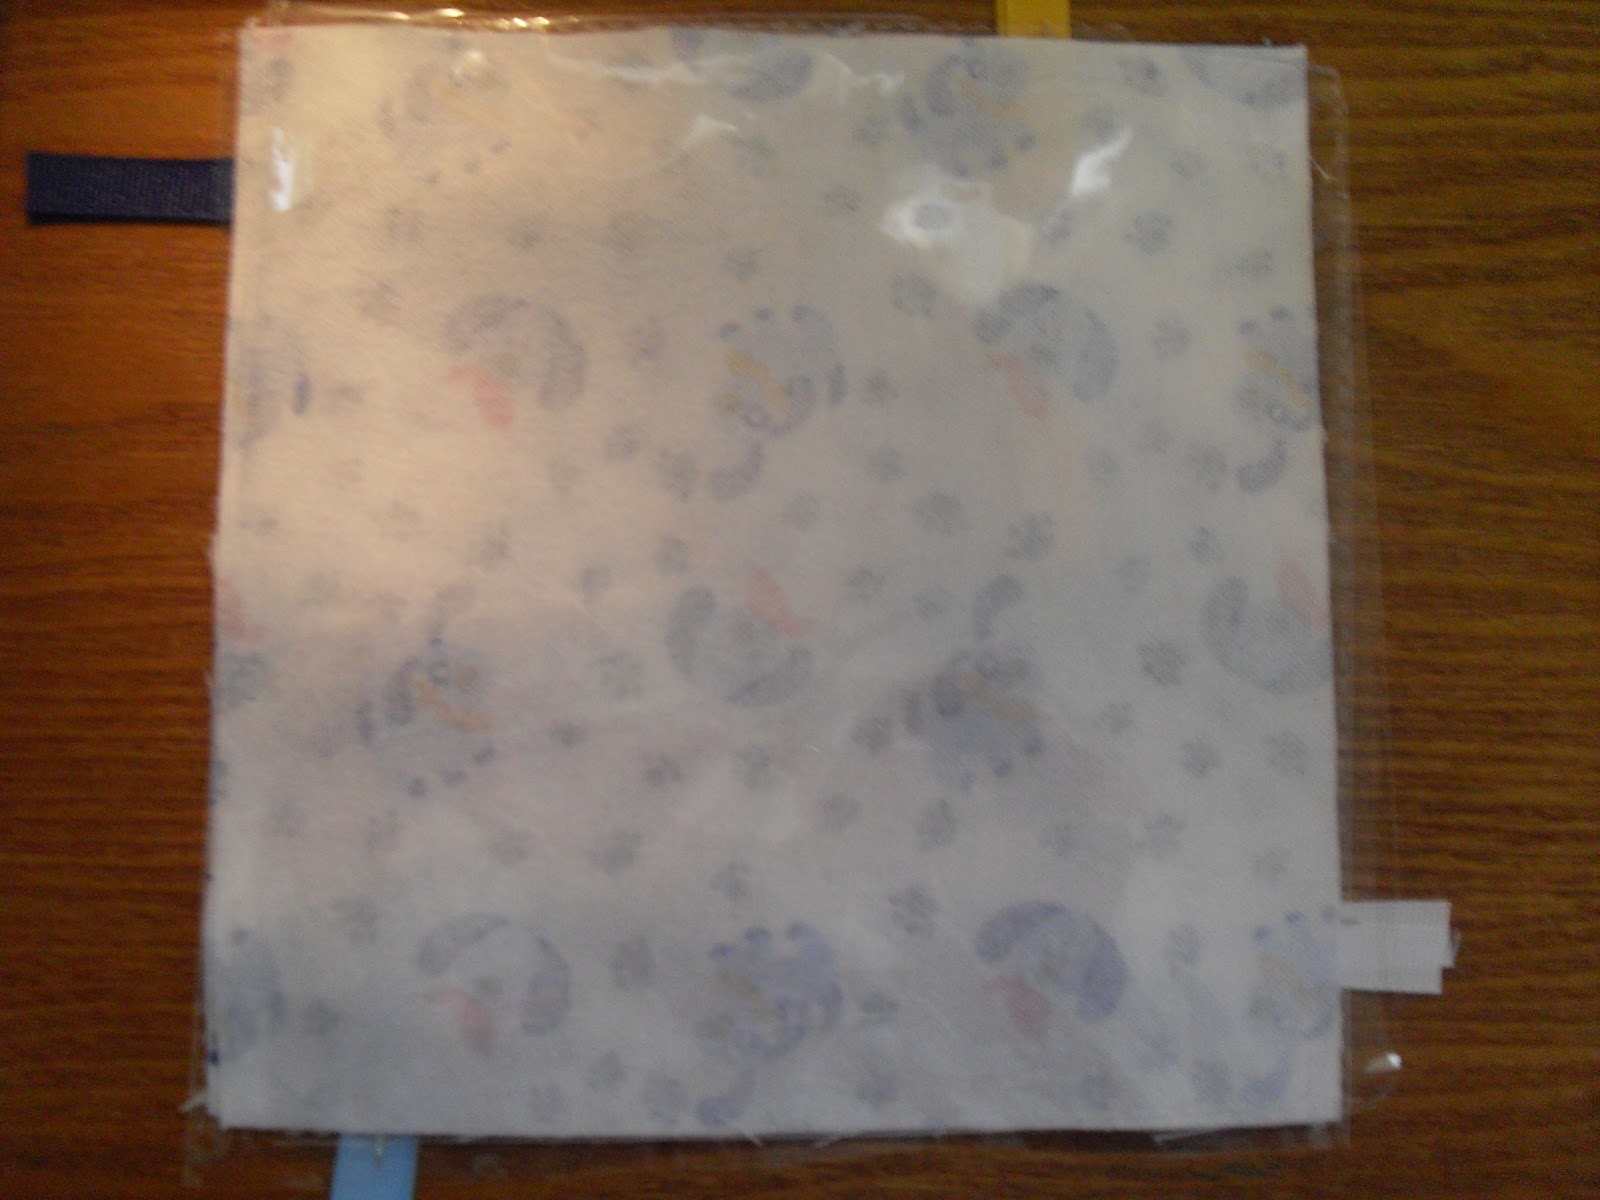

Now you need the crinkle part. You can use the wrapping from pop corn bags or the plastic that stickers are put in. I prefer the plastic sleeves that stickers come in because it seems allot more sturdier and it holds up better when you sew it. I just cut off the sticky part that holds the sticker in off the wrapper. You also don't want any paper on your plastic so you'll want to cut that off.

The plastic should be cut a little bigger then the fabric and now you can pin on top the fabric. I start with pinning the ribbon area first then in between each ribbons (see pictures).

Now just sew a straight stitch all around but make sure to leave a pocket so you can turn it inside out or right side out ( however the term is supposed to be said LOL).

Trim off the excess.

Take out the top pins.

Take out the 4 inside pins that were holding the ribbon together.

Let your 3 year old pose for one of the pictures. LOL

Gently begin to turn out.


Flatten it out and carefully get your corners straight without cutting plastic or threw your fabric.

Fold the open space in.

Sew around with a decorative or straight stitch. when you get to the folded open space carefully make sure it stays folded in while you sew over it.

Finished product up Close.
I have 2 for my 5 month old daughter and she just loves them, The ribbon allows you to attach other toys if you want and or its makes it easier for the child to hold. I have washed theses many times and they still crinkle and haven't matted up or came unsewn. I usually wash them once a week with there blanket load of clothes.

No comments:
Post a Comment