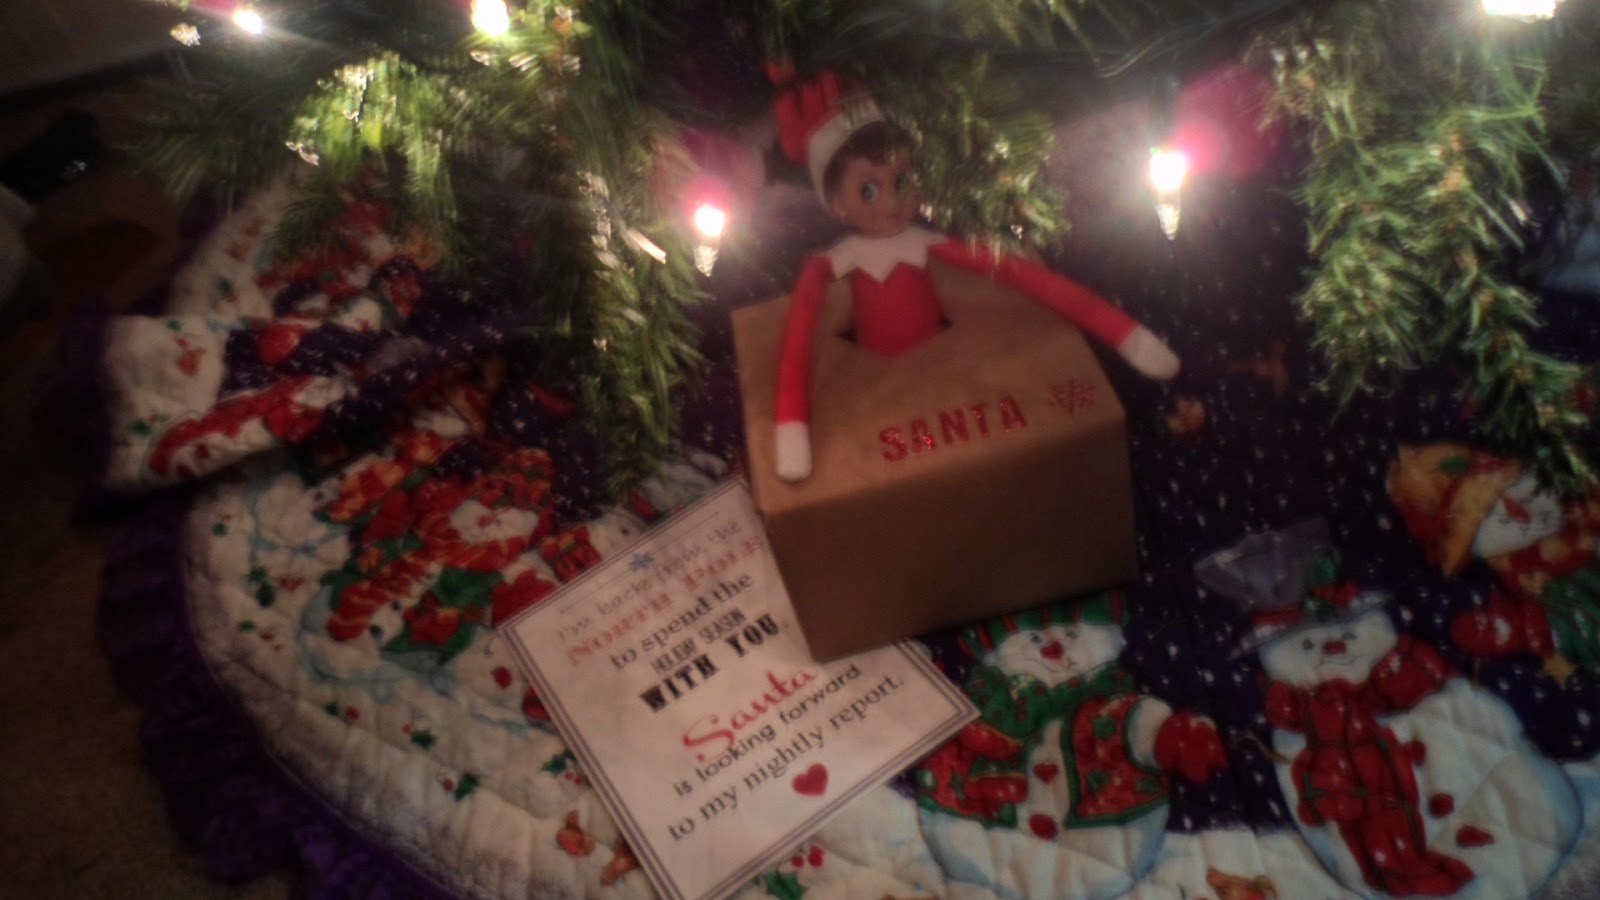
Well on Day 3 our Elf on the Shelf Miss Polka Dot Stripe Snowflake decided to set up some fun Photo Props for the girls and a back drop...
Christmas Syle,
This photo booth kit is very inexpensive and even comes with its own back drop which the elf helper did not realize tell after they added the brown back drop.
Polka Dot Stripe Snowflake is dressed as a Reindeer and ready for the girls to get home from Grandma and Papa's house Sunday evening.
Helper elf could use any wrapping paper for a back drop, its quick and easy.
See the following days in December, click on the links below
Our Polka Dot Stripe Snowflake arrival
Day 2
Alexis is almost 9 and Alivia just turned 6, we love to craft, bake, and have fun with our family. Come follow our journey and get inspired.
Saturday, December 2, 2017
Friday, December 1, 2017
Polka Dot Stripe Snowflake Day 2, 2017
Alexis and Alivia are at Grandmas and Papa's house tonight so their are not tricks for Polka Dot Stripe Snowflake tonight.
Each year Polka Dot Stripe Snowflake believes the trees need and Elf touch.
Behold a new Elf ornament, we now have three unique elf ornaments, maybe soon we could have an elf tree.
Would you like to see how Polka Dot Stripe Snowflake made his entrance...
CLICK HERE
Each year Polka Dot Stripe Snowflake believes the trees need and Elf touch.
Behold a new Elf ornament, we now have three unique elf ornaments, maybe soon we could have an elf tree.
| We made our tree snowman this year. |
Would you like to see how Polka Dot Stripe Snowflake made his entrance...
CLICK HERE
Thursday, November 30, 2017
Polka Dot Stripe Snowflake has RETURNED 12-01-2017
Day 1 of out silly sneaky Elf on the Shelf, Polka Dot Stripe Snowflake.
She flew in with a bang, I mean Balloon.
I found this awsome printable from amyweish18 on Pinterest.
I printed it on Heavy Weight Cream card stock and timmed it out using my favorite Fiskars paper trimmer.
Using some Tombow Mono Liquid Glue and cloths pins to help me assemble the pole.
The Snowflake cups came from Wal-Mart and I found some Snowflake ribbon in my stash too.
Double sided tape on a piece the width of my cup.
My mini stapler from Stampin Up I used to help attach four pieces of ribbon the the cup.
I then did who knows what to the top, but basicly I put the ribbon over the balloon until the cut was decently centered.
I temporaily adhered the ribbon with small double sided tape and then added more snowflake ribbon under it and added bigger double sided tape.
She flew in with a bang, I mean Balloon.
I found this awsome printable from amyweish18 on Pinterest.
I printed it on Heavy Weight Cream card stock and timmed it out using my favorite Fiskars paper trimmer.
Using some Tombow Mono Liquid Glue and cloths pins to help me assemble the pole.
The Snowflake cups came from Wal-Mart and I found some Snowflake ribbon in my stash too.
Double sided tape on a piece the width of my cup.
My mini stapler from Stampin Up I used to help attach four pieces of ribbon the the cup.
I then did who knows what to the top, but basicly I put the ribbon over the balloon until the cut was decently centered.
I temporaily adhered the ribbon with small double sided tape and then added more snowflake ribbon under it and added bigger double sided tape.
| Not exactly how I pictured the final product but it works and I added a 3M hook to the ceiling then added the ribbon hook over it. |
| Carefully tucked in my sign and VIOLA a Polka Dot Stripe Snowflake air mailed from Santa him self. |
Wednesday, February 8, 2017
Valentine Bird Seed Ornaments for Teachers Gifts
We decided to go with Bird Seed Ornaments for our Teacher Gifts this year.
You will need:
4 cups bird seed
3 tablespoons corn syrup
1 packet unflavored Gelatin
1/2 cup water
3/4 cup flour
Wax Paper
Straws
Cooking Spray
Mixing bowl and Spoons
Cookie Cuters
Getting our supplies and children ready.
Pivia was my table helper, as I got the stuff from the kitchen she took it to the dinning room table.
OK this photo is kinda not right, you techniqually need only one straw cut in half.
I was not sure tell we got started but Pivia had fun cutting in half.
Mix all your ingrediants together, it will look like this.
I set out three sheets of wax paper, one for each girl and one for the finished ornaments.
You only need to spray the inside of your cookie cutter once with the cooking spray.
Pack bird seed with a spoon until near the top of the cookie cutter.
Alexis even joined in, last year she wanted no part of this when we made them.
Make your hole with the straw.
They will need to dry for a day or so, I flip them over after the first 24 hours.
I kinda hold the sides of the cookie cutter while I transfer over to the wax paper and then realese a bit and the ornament will fall threw just fine.
Add some twine or ribbon when dry and give out to friends, family, teachers, or coaches.
I made a cute Valentines Tag to go on the packaging. Would you like to see how, CLICK HERE.
You will need:
4 cups bird seed
3 tablespoons corn syrup
1 packet unflavored Gelatin
1/2 cup water
3/4 cup flour
Wax Paper
Straws
Cooking Spray
Mixing bowl and Spoons
Cookie Cuters
Getting our supplies and children ready.
Pivia was my table helper, as I got the stuff from the kitchen she took it to the dinning room table.
OK this photo is kinda not right, you techniqually need only one straw cut in half.
I was not sure tell we got started but Pivia had fun cutting in half.
Mix all your ingrediants together, it will look like this.
I set out three sheets of wax paper, one for each girl and one for the finished ornaments.
You only need to spray the inside of your cookie cutter once with the cooking spray.
Pack bird seed with a spoon until near the top of the cookie cutter.
Alexis even joined in, last year she wanted no part of this when we made them.
Make your hole with the straw.
They will need to dry for a day or so, I flip them over after the first 24 hours.
I kinda hold the sides of the cookie cutter while I transfer over to the wax paper and then realese a bit and the ornament will fall threw just fine.
Add some twine or ribbon when dry and give out to friends, family, teachers, or coaches.
I made a cute Valentines Tag to go on the packaging. Would you like to see how, CLICK HERE.
Monday, December 5, 2016
Polka Dot Stripe Snowflake Day 5 2016
She is on a race against the Pony's, who will win..... Polka Dot Stripe Snowflake or Rainbow Dash, maybe even Shutterfly. The Lego finish pole with snowflake ribbon is a finishing touch... No pun intended.
Polka Dot Stripe Snowflake Day 4 2016
Our little Elf decided to try out doing her own hair, lets just say she looks like she came out of a flower patch.
Alivia said Polka Dot Stripe Snowflake needs hair bow advice.
Friday, December 2, 2016
Thursday, December 1, 2016
Snowman Bulb Ornament 2016
We decided to go with anouther bulb ornament and made a Snowman this time.
Here are the supplies we will be using: clear bulbs, white pom poms, white craft snow, black and orange paint markers by Sharpie, and white with red snowflake ribbon.
All purchased at Micheal's Craft Store except the Craft Snow, that was from Target $1 Spot.
Alivia choose the white pom poms, I purchased three bags and she just about filled her bulb with two bags.
Each bag has 65 pom poms in it.
Alexis choose the craft snow which is super staticky and kind of annoying but we rolled with it.
All filled up.
I primed the paint markers per the instructions and drew on a face for Pivia and she colored it in.
Here is Alexis finished face.
After Pivia saw Alexis face she immediantly went with her sisters and thats what it looks like.
Here are the supplies we will be using: clear bulbs, white pom poms, white craft snow, black and orange paint markers by Sharpie, and white with red snowflake ribbon.
All purchased at Micheal's Craft Store except the Craft Snow, that was from Target $1 Spot.
Alivia choose the white pom poms, I purchased three bags and she just about filled her bulb with two bags.
Each bag has 65 pom poms in it.
Alexis choose the craft snow which is super staticky and kind of annoying but we rolled with it.
All filled up.
I primed the paint markers per the instructions and drew on a face for Pivia and she colored it in.
Here is Alexis finished face.
After Pivia saw Alexis face she immediantly went with her sisters and thats what it looks like.
| Would you like to see how we created the Reindeer Bulb Ornament, CLICK HERE. |
Polka Dot Stripe Has Arrived Day 1, December 1st 2016
Our silly little elf named Polka Dot Stripe has arrived, she flew into our house and landed under our tree early in the morning.
We watched the Elf DVD last night to help get the girls to remember why the Elf was here and what to do and not to do.
Alivia is really into the Elf this year and decided she ( our Elf is a girl ) needed a name from her since Alexis named her when she first arrive 3 years ago. So we decided to go with Polka Dot Snowflake Stripe.
I think in the end Alivia will call her Snowflake and Alexis will call her Polka Dot Stripe, who knows maybe anouther Elf friend may show up later in December.
We watched the Elf DVD last night to help get the girls to remember why the Elf was here and what to do and not to do.
Alivia is really into the Elf this year and decided she ( our Elf is a girl ) needed a name from her since Alexis named her when she first arrive 3 years ago. So we decided to go with Polka Dot Snowflake Stripe.
I think in the end Alivia will call her Snowflake and Alexis will call her Polka Dot Stripe, who knows maybe anouther Elf friend may show up later in December.
| Here she is Polka Dot Snowflake Stripe |
| She brought along a letter from Santa. |
| Cute little postage stamp on her box. |
| Glittery SANTA letters with a snowflake. |
| The girls never noticed what was behind the tree, I will tell/hint them to it after school. |
Monday, November 28, 2016
Reindeer Bulb Ornament 2016
We are continuing making our handmade ornaments, I am hopeing one a day up until Christmas so we shall see.
I found this inspiration on Pinterest, I believe they also got the idea from Micheal's Arts and Crafts Store, CLICK HERE for details.
Here are the supplies we will be using, granted I only needed to purchase one bag of filler but it was only $1 from the Target $1 spot.
I also got out some sparkly red pom poms which Alivia used and me and Alexis decided to go with red pom pom.
We started off by taking the top of the ornament bulb and filling it with the brown crunchy filler paper.
You can also substitute brown pom poms, or even cut up some brown construction paper.
Put the tops back on the bulb when your done.
Using a hot glue gun, I held the bulb and applied the glue and the girls added the nose and eyes.
Alivias bulb with the sparkly pom pom.
Alexis bulb with the traditional red pom pom.
OK so I wanted to make sure the antlers come off all the time and get lost so I added a small dab of glue to the front and added the pipe cleaner, then I added a small dab in the back and wrapped it arouind the back.
I cut a additional pipe cleaner into four equal pieces.
I think a brown sparkly pipe cleaner would be neat too along with a brown pom pom or sparkly brown pom pom.
I put the cut pipe cleaner behind the ear and wrapped around the antler, pulling tight.
I added some cute ribbon that the girls picked out and also used a permenant marker to add their name and year to the back.
Alivias ornament, we trimmed her antlers just a bit per her request.
Alexis ornament, she left her antlers long per her request.
All the other materials I purchase at my local Micheal's Arts and Crafts Store.
I purchased the brown filler at the Target $1 Spot.
I found this inspiration on Pinterest, I believe they also got the idea from Micheal's Arts and Crafts Store, CLICK HERE for details.
Here are the supplies we will be using, granted I only needed to purchase one bag of filler but it was only $1 from the Target $1 spot.
I also got out some sparkly red pom poms which Alivia used and me and Alexis decided to go with red pom pom.
We started off by taking the top of the ornament bulb and filling it with the brown crunchy filler paper.
You can also substitute brown pom poms, or even cut up some brown construction paper.
Put the tops back on the bulb when your done.
Using a hot glue gun, I held the bulb and applied the glue and the girls added the nose and eyes.
Alivias bulb with the sparkly pom pom.
Alexis bulb with the traditional red pom pom.
OK so I wanted to make sure the antlers come off all the time and get lost so I added a small dab of glue to the front and added the pipe cleaner, then I added a small dab in the back and wrapped it arouind the back.
I cut a additional pipe cleaner into four equal pieces.
I think a brown sparkly pipe cleaner would be neat too along with a brown pom pom or sparkly brown pom pom.
I put the cut pipe cleaner behind the ear and wrapped around the antler, pulling tight.
I added some cute ribbon that the girls picked out and also used a permenant marker to add their name and year to the back.
Alivias ornament, we trimmed her antlers just a bit per her request.
Alexis ornament, she left her antlers long per her request.
All the other materials I purchase at my local Micheal's Arts and Crafts Store.
I purchased the brown filler at the Target $1 Spot.
Micheal’s brand is called Recollections
their website is http://www.michaels.com/
Subscribe to:
Posts (Atom)