Tuesday, May 29, 2012

Hungry Catapillar

Today Lexi Girl had a friend came over and right now Lexi loves The Very Hungry Caterpillar book.

I set up 2 projects for the girls and I took pictures of Lexi Girls finished project.


This is the first page of the book.        

It reads :

In the light of the moon a little egg lay on a leaf.

Theres dark blue construction paper, brown and green as well.
I cut a leaf from my Cricut machine in green as well.
Theres also safety scissors and Elmer's glue.
A blue crayon for the moons face, also a cupcake liner for the moons body. A white sparkly pomp pomp for the egg and a glue dot to attatch it because its just easier with the glue dot.


The is the second page of the book.


It reads :


One Sunday morning the warm sun came up and - pop! - out of the egg came a tiny and very hungry caterpillar.


I set out white paper, sand paper and yellow paper. Also cut some color full strips for the sun rays, and red crayon for the face. Glue and scissors. Punched out green papers for the body. A jar and red paint with paint brush. Google eyes, buttons, and pomp pomp's to choose for their eyes.  


Lexi Girls Finished First Page


Lexi Girls Finished Second Page


Our friend had to go home before we could continue, Shell be back tomorrow morning so we should finish the story or at least a couple more pages.


Thursday, May 24, 2012

Tasty Apple Salad!

Ingredient's
Marshmallow's
Apples
Grapes
Whip Cream
Cinnamon

Add an equal amount of ingredients, cinnamon to tasted, I add extra apple because its my favorite. Its better to let it set overnight but at least 1 hour in fridge so the marshmallow's can get soft from the whipped cream.


 All the ingredient's
Layer of marshmallow's and peal and cut 2 apples (or more if you want)
 Grapes cut in half
 Lexi girl sprinkling the cinnamon
 lovely big mound of whip cream
Finished product

Thursday, May 10, 2012

Mommy Its Hot OUT!

So I asked Lexi girl if she would like to Paint outside on the porch?  She said mommy we cant paint the porch, paint belongs on paper.  I told her i can make out door paint and then she said OK lets do it mommy!

Here's what you need!

Muffin tin or small containers (I used Miss Alivia's 2nd food baby containers, I have been saving them)
Paint brushes (the bigger the better, Dollar store had 3 different sizes for a dollar and you cant beat that)
Cornstarch
Water
Food coloring

I used 1 1/2 cups cornstarch and 1 1/2 cups water. The ratio can be changed just use equal cornstarch to water.  We measure 1/4 cup of water into each container and Lexi girl poured the water back into a bowl. I measure out the cornstarch and added it to the water. It was VERY thick and took a little to whisk it up. I put the cornstarch water mixture into a pitcher (easier to pour back into the containers). Lexi girl measure/squirted the food coloring into the containers and we mixed. Then go outside and have fun. But be sure to have a clean porch first. I had to do a quick porch sweep first.

 The set up. Those are the paint brushed I got at the dollar store.
 Lexi girl pouring water back into the mixing bow. Now i know how much water we will need next time.
 Mixing up the cornstarch and water and boy it was thick, it did get easier to mix.
 Poured into a glass measuring cup so that it would be easier to pour back into the containers.
 The tray below is just an old oven tray I don't really care about. Designated Lexi girl craft tray.
 Mixing and Squeezing.
 Dirty deck, I had to sweep up real quick and Lexi girl picked up her toys too.
 Really cool mom.
 Really wet and almost dry.
 I now know you need extra yellow coloring, it didn't turn out so bright like the other colors.
 Theres Lexi girl.
 Again yellow needs more coloring. but they dried like side walk chalk.
 Lexi girl taking a drink break.


So to recap. I know for brighter colors use more food coloring. Especially the YELLOW. Your hands turn colors but hey its food coloring. The paint does get thick at the bottom of the containers so you need to stir if you let it set for a bit.

This was a fun new experience for Lexi girl and me.

Monday, April 30, 2012

Crackers that taste like GOLD FISH

So I had some really good pictures of how to make the dough but I had the incorrect memory card in my camera. BOO.

But i have some good photos of after the dough was chilled to the final product

Recipe

3/4 cup whole wheat flour
6 0z (1 1/2 cups coarsely grated cheese) a orange kind
1/2 teaspoon onion powder
1/2 teaspoon onion salt
4 table spoons cold cut up butter

I use block cheese and used the shredding blade in my food processor.  I must say that if you grate the 6 ounce block of cheese in the processor it will look like a lot more then a cup and a half, YOU need it all. When I finished mine the cheese pretty much filled the food processor. I take out the cheese and put the original blade back in.   Put the cheese back in, add all the other ingredients and just turn on the machine.  It will take roughly 3 minutes to form a ball. Per Lexi girl the machine is TOO LOUD. But she found it interesting that it went from shredded cheese to a ball of dough.

Chill from anywhere to half hour to overnight or tell when your ready to roll it out.

DO NOT grease your pan, the butter and cheese will make them non stick. My first 2 trays i forgot and they kinda fried in the grease spray. No biggy Lexi girl still ate them.

The next tray i rolled a little thicker and they turned out much better,  Not supper crunchy and not like a soft cookie. In the middle.

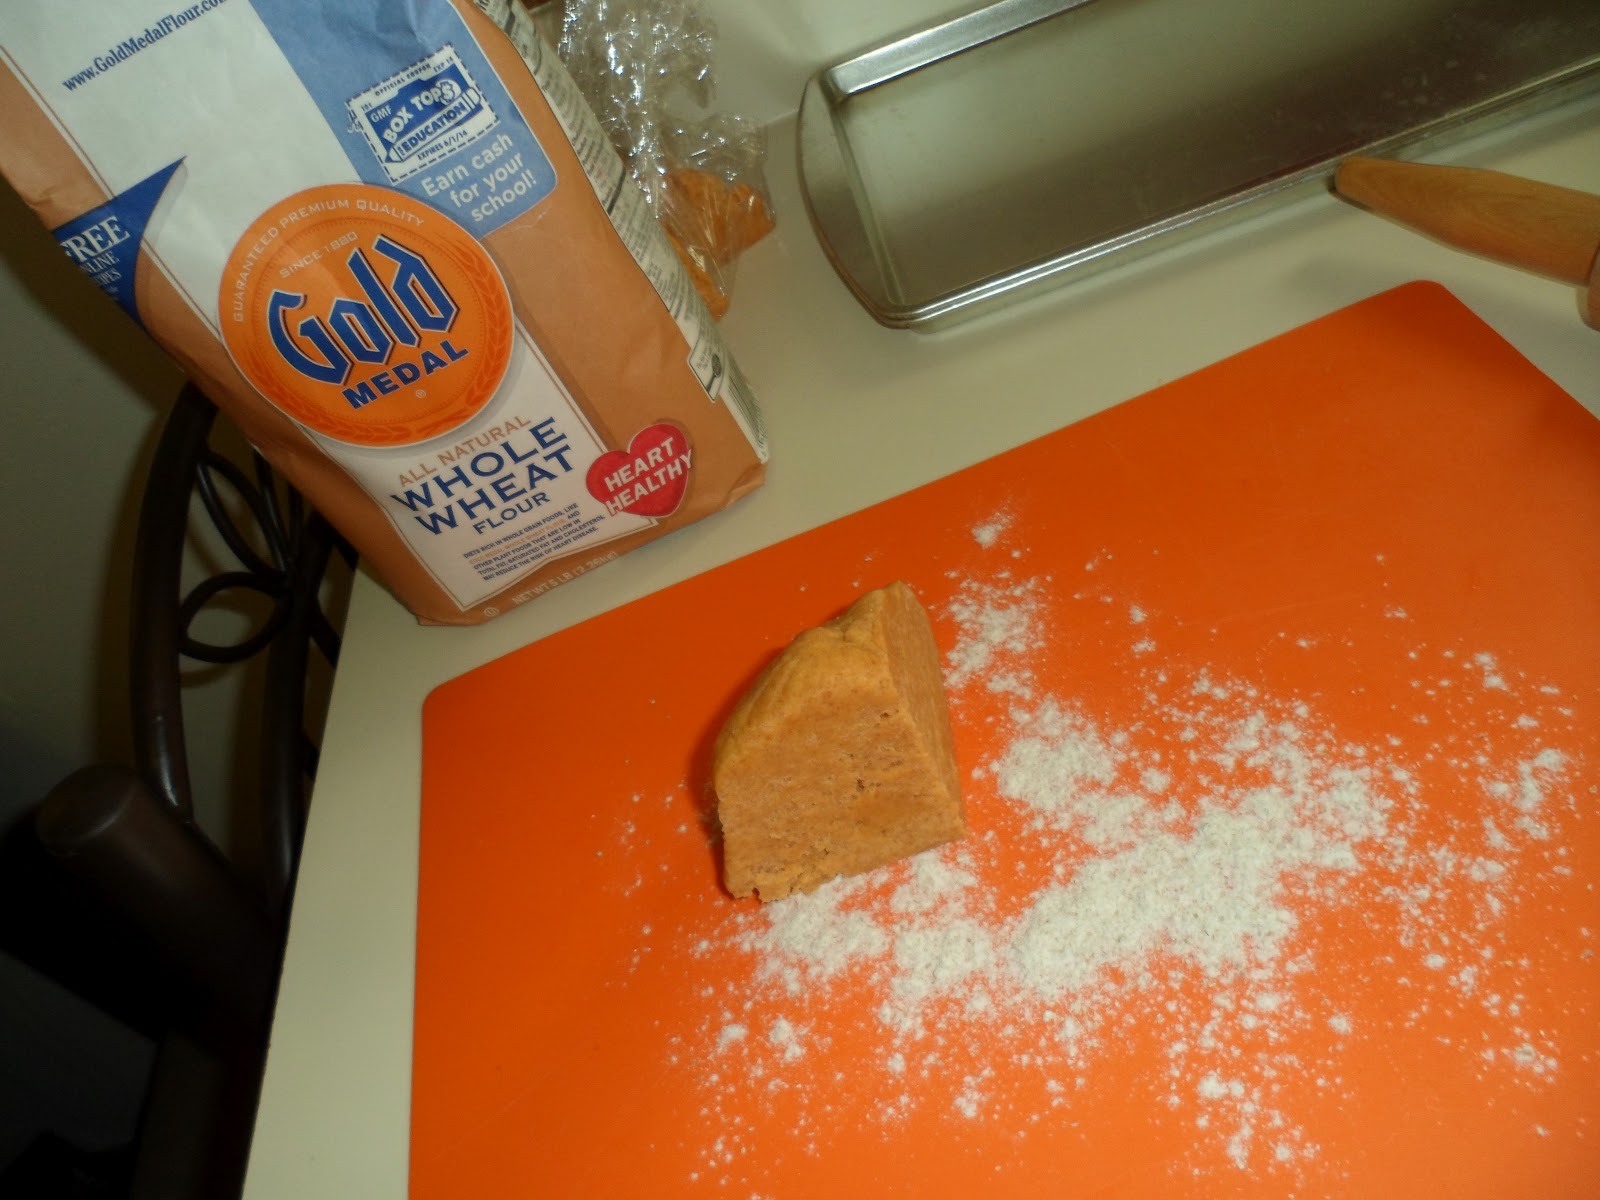
 Dough after chilled, cut into 4's.
 Whole wheat flour on work surface.
 BOO BOO tray, I sprayed and they basically fried in oven :(  live and learn
 BOO BOO tray cooling
 Lexi girl really does not mind that there super crunchy.
 Left is 2nd attempt no spray and a bit thicker, Right is from BOO BOO tray.
 Good stuff
This was from the last amount of dough, i made strips for tuna fish, use this to eat it with instead of bread!

By all means, play around with the spices, and if you don't want so much wheat flour, I cant tell the difference. But you can do 1/2 cup wheat flour and 1/4 cup white flour if you like.

Store in an air tight container for up to a week.

Thursday, April 26, 2012

DIY Strawberry Planter!

 Start with a decent size pot.
 Drill drain holes on bottom of pot, unless yours has drain holes.
 we used a 3inch drill hole adapter thing to make the holes on the side of the pot. There are 8 holes randomly around the pot.
 Fill bottom with Lexi girls rocks.
 Add a layer of soil that will go right up to the bottom of the first hole.
 Stick in plant, View from the outside.
 View from the inside. Continue layering.
ALL DONE!


I suppose this would have been even cheaper if i borrowed the drill hole thingingy from my dad but i didn't want to wait. LOL. i used some organic plant food inside, it was on sale at Menard's and cheaper then regular plant food and people are saying organic is better for us.  I also used organic strawberry plants from Menard's as well, they were 3 bucks a piece. the others were 2.49 but they didn't look as great as the others.  All in all i used 12 strawberry plants. 

The reason i decided on making this is because  all the strawberry pots i found were ceramic and ranged from $25 to $30 and they looked breakable if they were dropped or knocked over by a certain 3 year old. 

The drill piece, pot, bottom part of the pot and plant food all cost $25.00.  I had soil in my garage from previous years.  I used one big bag of soil.  There was also a pot bigger then this but i thought it would be too big.

I also got this idea from a friend Amanda Few, she had her husband make one last year.

Thursday, April 19, 2012

Painting with Condensed Milk

We had fun Painting with condensed milk yesterday.  Lexi did most of the work. She set up the area, pored the milk, squirted the food coloring, mixed the paint.  She noticed how thick it was and that she had to wait tell it stop dripping. She also noticed since it was thick it took little more pull for the paint to flow on the paper.

 Lexi Girl setting up our supplies. In the right order per her request. (when your 3 things need to be in there correct order)
 Pouring the milk. We managed to get roughly 2 tablespoons per container. It was plenty and we still have over 3/4ths of the can left. I put it in the fridge for maybe next month.
 This was the hardest part for Lexi Girl, Squeezing the food coloring into each container. (the food coloring was from the local dollar store, which I had no idea they sold it. HELLO and a major plus is there bigger bottles then the ones at walmart for almost 2 bucks)
 Stirring it up
 The colors I thought were better then regular paint. Very vibrant.
 Painting with it.
 Lexis Picture
My picture.

All in All this was a fun, fast and easy project. Pretty inexpensive too. Inexpensive brand of condensed milk and dollar store food coloring.  We used containers from sisters baby food to hold the paint. if i had the lids we could have saved the extra, We had extra. So i guess i need to start to save the lids as well.

Friday, April 13, 2012

Snack Happened by itzy ritzy

While browsing the Internet I cam across these Reusable Snack Bags they were on the Citrus Lane Website. I also saw them in the Parents Magazine May 2012 issue on page 28.

I purchased 2 snack bags, one in a skull pattern for nick to take in his lunches and one in a pink and green zig zag pattern for lexi girl.  I used a coupon code from the citrus lane email sing up that i receive. The code gave me 4 dollars off so it almost covered the 8 dollar shipping charge.

The reusable bags were 9.99 each and shipping was 7.95 but i save 20% off which was 3.99. I ordered on 4/8/12 and got the box today Friday the 13th.

It came with instructions on how to wash and care for the bags and ideas on different ways to use the bags.

 The one on the left is nicks and the one on the right is lexi girls
 Supper cute she took it right away after i snapped the photo and put her blueberry's in it.
Nick should be happy with this, it was the skulls or boy child dinosaurs.

There website has tones of different types of bags.  Bags that you can put your children's swimsuits in to the bags you use for cloth diapers. So go check out there website.