Monday, April 30, 2012

Crackers that taste like GOLD FISH

So I had some really good pictures of how to make the dough but I had the incorrect memory card in my camera. BOO.

But i have some good photos of after the dough was chilled to the final product

Recipe

3/4 cup whole wheat flour
6 0z (1 1/2 cups coarsely grated cheese) a orange kind
1/2 teaspoon onion powder
1/2 teaspoon onion salt
4 table spoons cold cut up butter

I use block cheese and used the shredding blade in my food processor.  I must say that if you grate the 6 ounce block of cheese in the processor it will look like a lot more then a cup and a half, YOU need it all. When I finished mine the cheese pretty much filled the food processor. I take out the cheese and put the original blade back in.   Put the cheese back in, add all the other ingredients and just turn on the machine.  It will take roughly 3 minutes to form a ball. Per Lexi girl the machine is TOO LOUD. But she found it interesting that it went from shredded cheese to a ball of dough.

Chill from anywhere to half hour to overnight or tell when your ready to roll it out.

DO NOT grease your pan, the butter and cheese will make them non stick. My first 2 trays i forgot and they kinda fried in the grease spray. No biggy Lexi girl still ate them.

The next tray i rolled a little thicker and they turned out much better,  Not supper crunchy and not like a soft cookie. In the middle.

 Dough after chilled, cut into 4's.
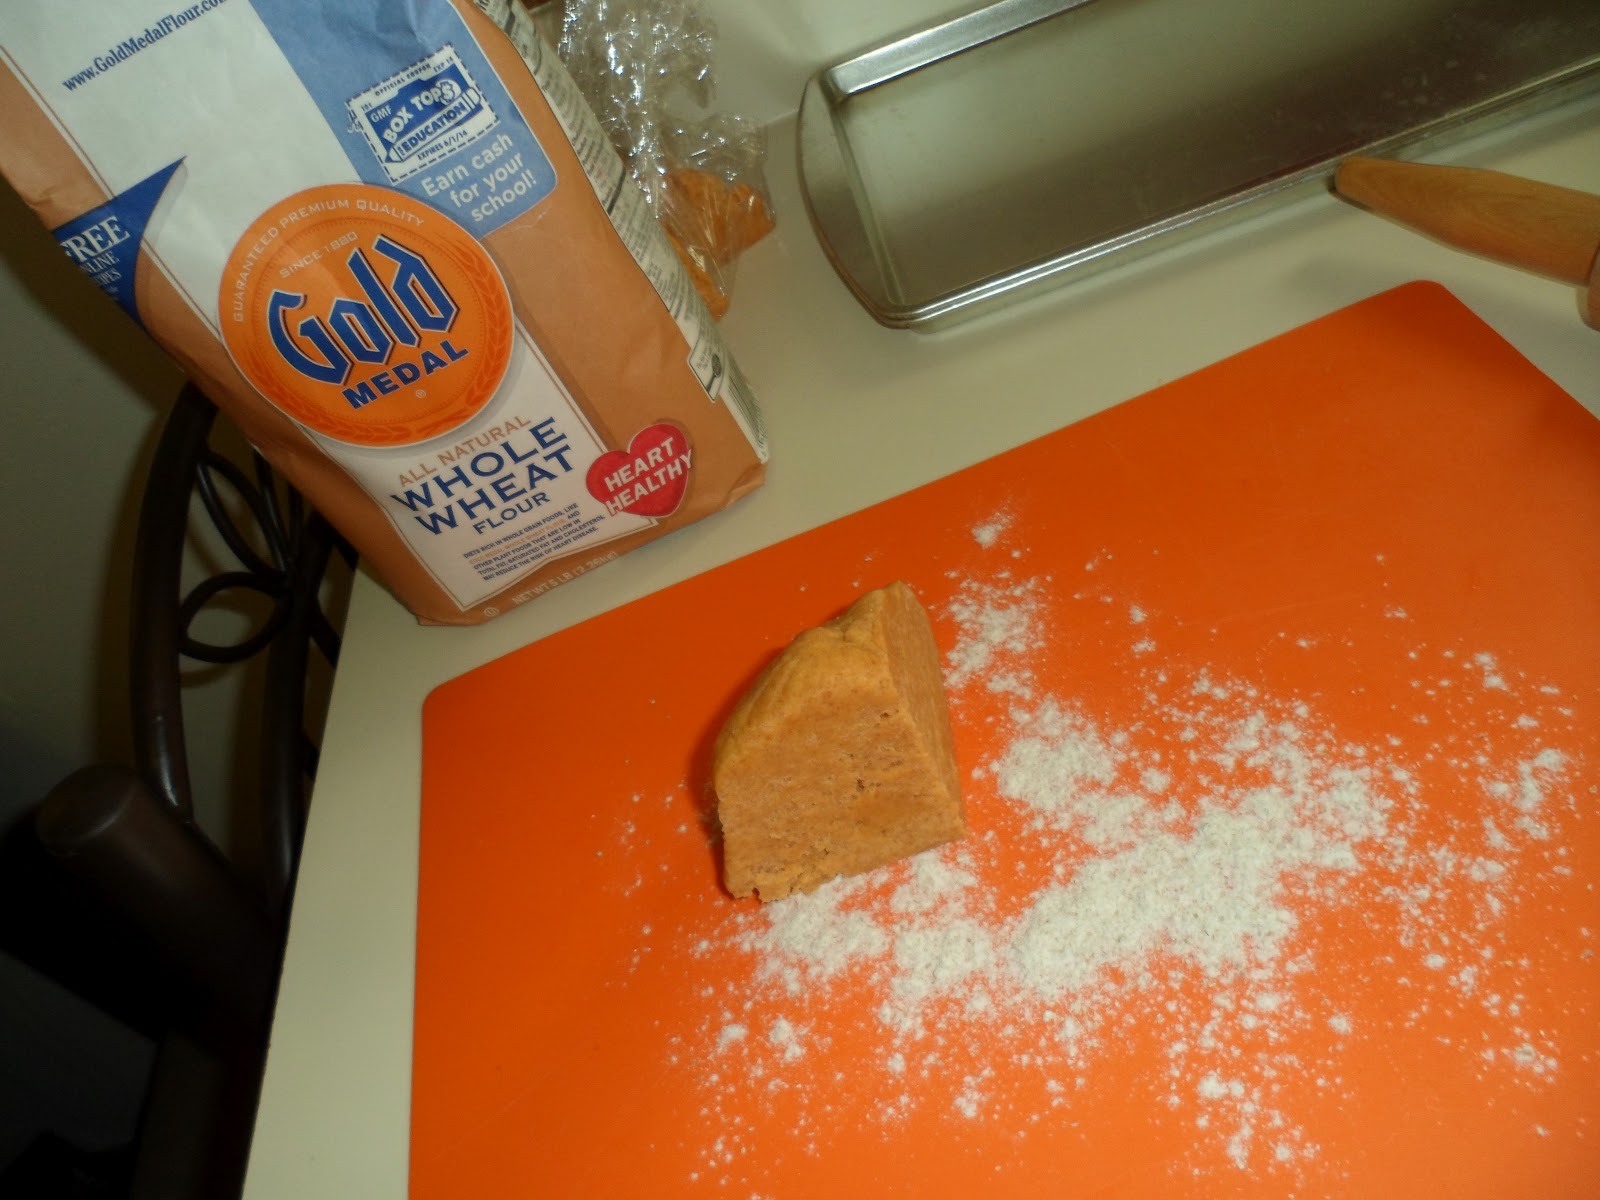
 Whole wheat flour on work surface.
 BOO BOO tray, I sprayed and they basically fried in oven :(  live and learn
 BOO BOO tray cooling
 Lexi girl really does not mind that there super crunchy.
 Left is 2nd attempt no spray and a bit thicker, Right is from BOO BOO tray.
 Good stuff
This was from the last amount of dough, i made strips for tuna fish, use this to eat it with instead of bread!

By all means, play around with the spices, and if you don't want so much wheat flour, I cant tell the difference. But you can do 1/2 cup wheat flour and 1/4 cup white flour if you like.

Store in an air tight container for up to a week.

Thursday, April 26, 2012

DIY Strawberry Planter!

 Start with a decent size pot.
 Drill drain holes on bottom of pot, unless yours has drain holes.
 we used a 3inch drill hole adapter thing to make the holes on the side of the pot. There are 8 holes randomly around the pot.
 Fill bottom with Lexi girls rocks.
 Add a layer of soil that will go right up to the bottom of the first hole.
 Stick in plant, View from the outside.
 View from the inside. Continue layering.
ALL DONE!


I suppose this would have been even cheaper if i borrowed the drill hole thingingy from my dad but i didn't want to wait. LOL. i used some organic plant food inside, it was on sale at Menard's and cheaper then regular plant food and people are saying organic is better for us.  I also used organic strawberry plants from Menard's as well, they were 3 bucks a piece. the others were 2.49 but they didn't look as great as the others.  All in all i used 12 strawberry plants. 

The reason i decided on making this is because  all the strawberry pots i found were ceramic and ranged from $25 to $30 and they looked breakable if they were dropped or knocked over by a certain 3 year old. 

The drill piece, pot, bottom part of the pot and plant food all cost $25.00.  I had soil in my garage from previous years.  I used one big bag of soil.  There was also a pot bigger then this but i thought it would be too big.

I also got this idea from a friend Amanda Few, she had her husband make one last year.

Thursday, April 19, 2012

Painting with Condensed Milk

We had fun Painting with condensed milk yesterday.  Lexi did most of the work. She set up the area, pored the milk, squirted the food coloring, mixed the paint.  She noticed how thick it was and that she had to wait tell it stop dripping. She also noticed since it was thick it took little more pull for the paint to flow on the paper.

 Lexi Girl setting up our supplies. In the right order per her request. (when your 3 things need to be in there correct order)
 Pouring the milk. We managed to get roughly 2 tablespoons per container. It was plenty and we still have over 3/4ths of the can left. I put it in the fridge for maybe next month.
 This was the hardest part for Lexi Girl, Squeezing the food coloring into each container. (the food coloring was from the local dollar store, which I had no idea they sold it. HELLO and a major plus is there bigger bottles then the ones at walmart for almost 2 bucks)
 Stirring it up
 The colors I thought were better then regular paint. Very vibrant.
 Painting with it.
 Lexis Picture
My picture.

All in All this was a fun, fast and easy project. Pretty inexpensive too. Inexpensive brand of condensed milk and dollar store food coloring.  We used containers from sisters baby food to hold the paint. if i had the lids we could have saved the extra, We had extra. So i guess i need to start to save the lids as well.

Friday, April 13, 2012

Snack Happened by itzy ritzy

While browsing the Internet I cam across these Reusable Snack Bags they were on the Citrus Lane Website. I also saw them in the Parents Magazine May 2012 issue on page 28.

I purchased 2 snack bags, one in a skull pattern for nick to take in his lunches and one in a pink and green zig zag pattern for lexi girl.  I used a coupon code from the citrus lane email sing up that i receive. The code gave me 4 dollars off so it almost covered the 8 dollar shipping charge.

The reusable bags were 9.99 each and shipping was 7.95 but i save 20% off which was 3.99. I ordered on 4/8/12 and got the box today Friday the 13th.

It came with instructions on how to wash and care for the bags and ideas on different ways to use the bags.

 The one on the left is nicks and the one on the right is lexi girls
 Supper cute she took it right away after i snapped the photo and put her blueberry's in it.
Nick should be happy with this, it was the skulls or boy child dinosaurs.

There website has tones of different types of bags.  Bags that you can put your children's swimsuits in to the bags you use for cloth diapers. So go check out there website.

Wednesday, April 4, 2012

How to Make Crinkle Toys

So have you gone to the store lately and saw the prices on the crinkle toys or books. Ya they range from 3 to 8 dollars.  I went searching on the Internet to see if i could make one and I found out how to do it from things you probably have at home.  I wish i could remember the website so I can give credit where credit is due.  I did tweak a few things to make it easier for me.

You will need:
2 6X6 flannel pieces of fabric
4 8 inch Gross grain ribbon
pins, coordinating string, sewing machine
crinkle material : empty baby wipe container, popcorn wrappers, sticker plastic (sleeve that stickers come in and I find this the sturdiest)


 This is a 6X6 piece of flannel fabric. Place 1 piece face up. I choose coordinating ribbon, they are 8 inches long each and you will need 4 pieces. You need to heat seal the edges after cutting them (just lightly run a lighter over the edge and this will prevent fraying). Fold the ribbon in half and pin like shown in the picture.
 Place 2nd piece of fabric face down on top of the first piece and make sure they are lined up.

 Now you need the crinkle part. You can use the wrapping from pop corn bags or the plastic that stickers are put in. I prefer the plastic sleeves that stickers come in because it seems allot more sturdier and it holds up better when you sew it. I just cut off the sticky part that holds the sticker in off the wrapper. You also don't want any paper on your plastic so you'll want to cut that off.
 The plastic should be cut a little bigger then the fabric and now you can pin on top the fabric. I start with pinning the ribbon area first then in between each ribbons (see pictures).
 Now just sew a straight stitch all around but make sure to leave a pocket so you can turn it inside out or right side out ( however the term is supposed to be said LOL).
 Trim off the excess.
 Take out the top pins.
 Take out the 4 inside pins that were holding the ribbon together.
 Let your 3 year old pose for one of the pictures. LOL
 Gently begin to turn out.

 Flatten it out and carefully get your corners straight without cutting plastic or threw your fabric.
 Fold the open space in.
 Sew around with a decorative or straight stitch. when you get to the folded open space carefully make sure it stays folded in while you sew over it.
Finished product up Close.

I have 2 for my 5 month old daughter and she just loves them, The ribbon allows you to attach other toys if you want and or its makes it easier for the child to hold. I have washed theses many times and they still crinkle and haven't matted up or came unsewn. I usually wash them once a week with there blanket load of clothes.

Follow Me on Pinterest 

Monday, April 2, 2012

Glob Paint

It came in the mail today Glob Paint this paint was 12 dollars for 6 packets it was also free shipping. When you open up the paint you will think OMG that's not alot but trust me a little goes along way. Its 1 part paint to 2 parts water. The paint is made from fruits, vegetable's, and spices. It doesn't have a bad smell either, it takes on the smell of what each paint was made from. Recently Lexi had watched an episode of Blues Clues where they were learning to mix colors to get new colors. When i asked Lexi which colors she wanted she chose Yellow, Red, and Blue because they make Orange, Green, and Purple.  Lexi girl had fun painting while i was cooking supper.

 This is how it came
 The yellow


 miking the colors
her first page
Then she realy mixed the last of the colors together